Wednesday, September 30, 2009

More Fabulous Halloween Ideas!

I'm totally in LOVE with this Halloween save the date free download. As you can see, I'm planning a Witches Tea Party for my friends...more details later. I used this free download and made some adjustments.

Amy from Living Locurto is the mastermind behind these save the date downloads. How do you like the look of this dark spookier save the date? Cool huh?


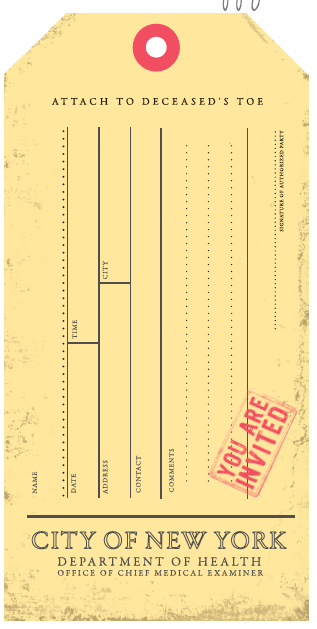
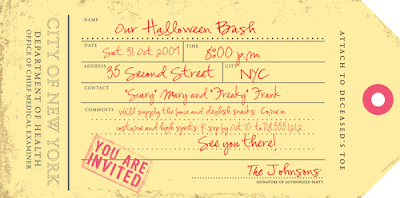
How about a toe tag from the Office of the Medical Examiner for an invitation? Print this invite on cardstock, punch a hole and thread it with a string - easy invite.


Stefanie from Brooklyn Limestone is the genius behind these invitations. Check out her fab blog for the free download.

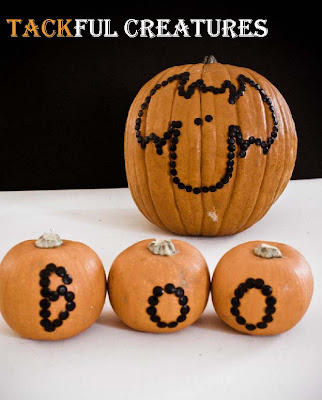
Don't have time to carve a pumpkin? Add tacks to make your own design! These clever, easy to design "tacky" pumpkins are from Poetic Home.

Make your own Halloween luminaries. Use brown paper bags - draw your own design and light brightly. Weigh down your luminary with sand, this will help it from falling over. If you have little kids around, skip the candles. Battery operated candles are a much safer bet. Image from here.


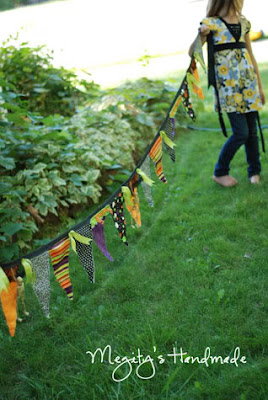
How cute is this? Halloween banner made by Megity's Handmade blogged about here.

Giveaway - Custom Diaper Cake- CLOSED!!

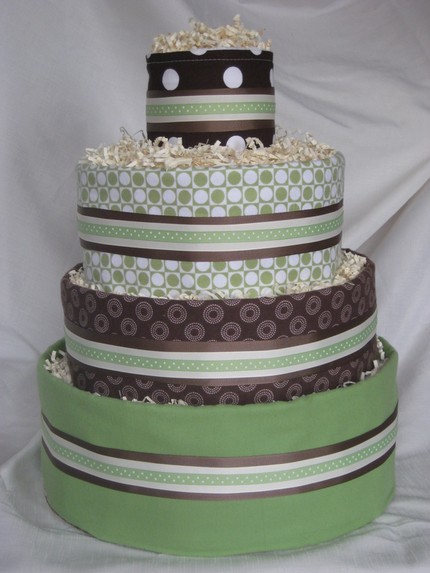
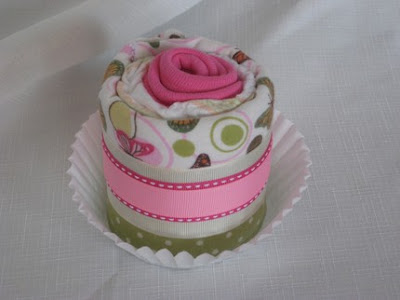
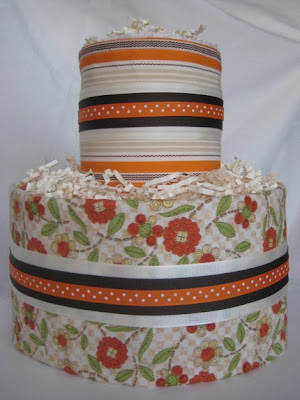
Bethany creates sweet, adorable custom diaper cakes! A lucky reader will win a $50 gift certificate to use on her Etsy site - Poopie Pastries. She also custom designs and takes special orders. Let one of her cakes from the "bakery" awe a new or expecting mother as a gift or centerpiece for her baby shower. Custom diaper cakes are fully functional as well as fabulous! Bethany can make yummy treats to fit any style or budget. Check out all of her lovely products on her Etsy site.


Mod Pink & Brown Diaper Cake


I'm really loving her "cupcake " .

Fabulous Fall Diaper Cake!

To enter to win this fabulous giveaway, please check out Bethany's site Poopie Pastries and choose your favorite product! Then come back here and leave a comment on this blog post about your favorite. Contest closes October 9th at 11:00 pm (PST).


Additional entries:

• Extra entry -become a Design Dazzle follower (by adding yourself to the follower group on the sidebar)... would love to have you as a blog friend and reader:)

• Extra entry - add our Design Dazzle button to your blog or website.

• Extra entry - follow me on Twitter and Tweet about the giveaway on Design Dazzle.

• 3 Extra entries - blog about Design Dazzle on your site and provide the link in your comments.


Each entry needs its own comment! Post a separate comment for each extra entry - if you entered all entries you would leave 7 separate comments.

Random.org will be used to help choose a winner (comment). The winner will be announced on October 10th on a blog post. If winner fails to respond within three days, a new winner will be chosen. You need to be at least 18 years old to be eligible for this prize. Open to US shipping addresses only.

It's HALLOWEEN Idea Week at Design Dazzle! Make sure to check back later today for some clever Halloween ideas.

THIS GIVEAWAY IS NOW CLOSED!

Tuesday, September 29, 2009

Halloween Decor

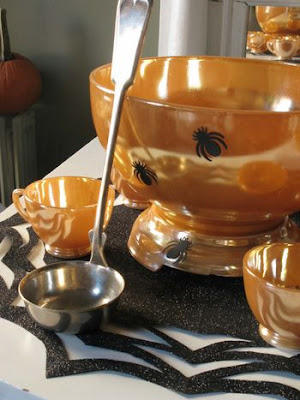
Loving, loving these glittered spider web doilies created by Eddie Ross! So these sweet little decorations can be used so many ways - hang from the ceiling, decorate the walls or use them served under plates or punch bowls.


Not into glitter? Leave it off! Complete instructions are found at Eddie Ross. Check out his blog you'll be glad you did.


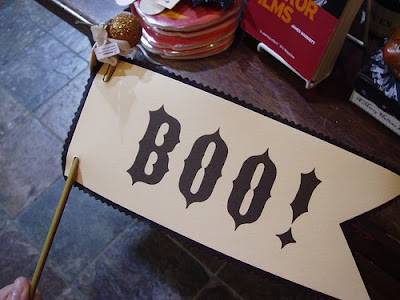
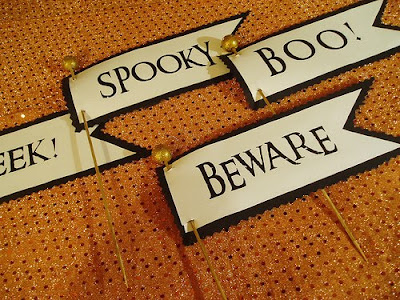
Halloween pennants are simple to make and perfect to add some pizazz to your Halloween Decor. Kabob sticks, printouts, card stock, wooden balls, etc. make for an easy craft.

The clever gal behind these pennants is Alexa from Swell Designer.


Silhouettes are in fashion and I'm flipping over these Victorian style pumpkins! Instructions and templates are found here.


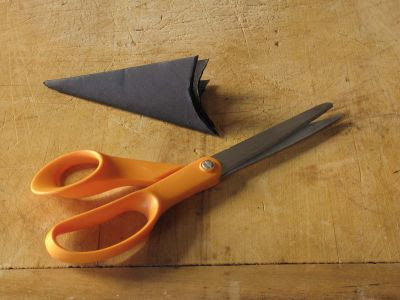
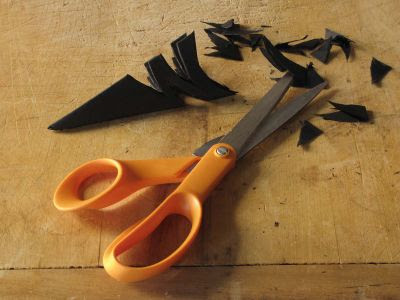
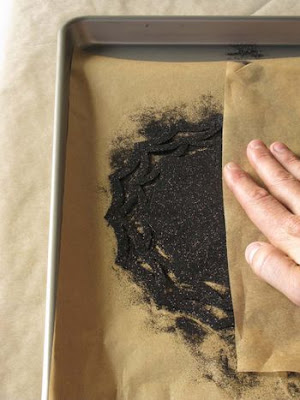
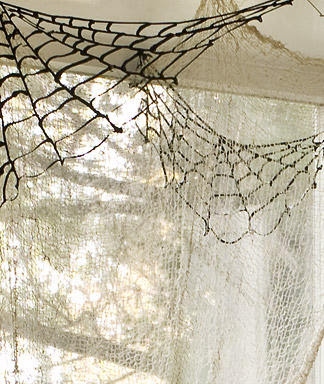
Spiderwebs made of black puff paint sprayed onto nonstick baking sheets. Perfect decor for ceiling corners. Instructions here.

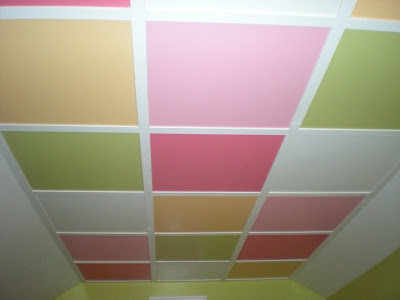
A Colorful Painted Ceiling!

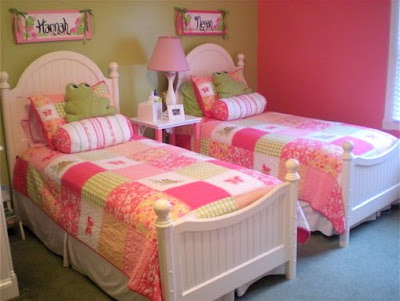
kids rooms ceiling ideasWhat a playful and detailed design for the ceiling. The squares were inspired by the butterfly/frog comforters (see below) in this adorable bedroom created for Michael Lindberg's daughters. I would so enjoy looking at this ceiling while laying in bed.

I'm wild for the paint colors which are called Hibiscus Pink and Apple 4 and were purchased at Lowes. The other paint colors names are unknown.


I love that Michael's girls were involved in designing their bedroom by painting the small wood forms which decorate the mirror frame. The mirror was framed with 1" x 4" pieces of wood.

The squares were drawn in pencil using a long ruler and then hand painted using five colors. The squares were then finished by nailing wood molding between the different colors.


The dry erase boards are a great way for the girls to stay organized or just to have fun drawing. The dry erase boards were cut to size and finished with a wood trim molding. They are hung on door knobs on a decorative piece of molding by ribbon which was stapled to the back of the boards.

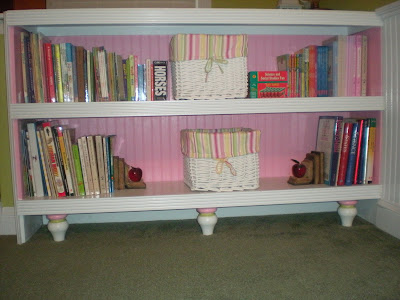
The bookcase was constructed in a little niche area of the room. For more room photos click here.

It's HALLOWEEN week here at Design Dazzle! Come back later today for an enticing Halloween post.

Monday, September 28, 2009

Halloween Idea Week!

Since I love HALLOWEEN so much - it's Halloween Idea Week here at Design Dazzle! For the entire week we will post fabulous Halloween ideas, and also our regular posts :)

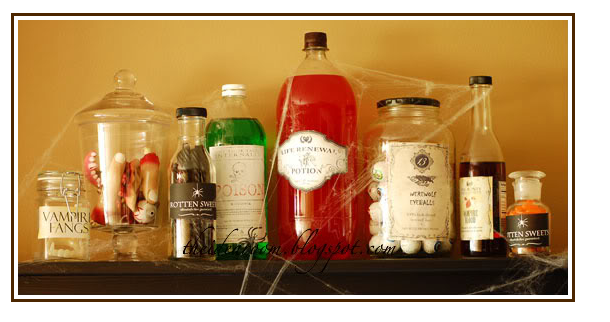
Such an easy, inexpensive way to decorate for Halloween. Amy from The Idea Room decorated empty jars - pickle, salad dressing, etc with clever Halloween labels from another website Love Manor. You really need to check out both sites. Amy has wonderful ideas - thus her blog The Idea Room! I've been visiting Love Manor since last year - it's a website for Halloween lovers and it's wonderful!
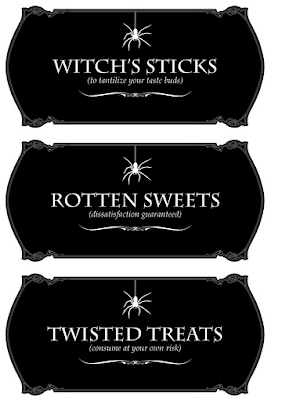
To download the potion labels, click here.


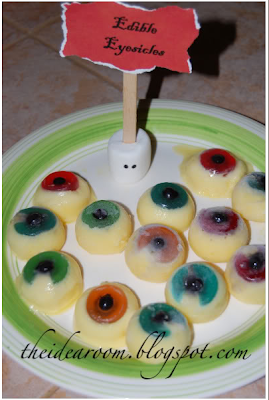
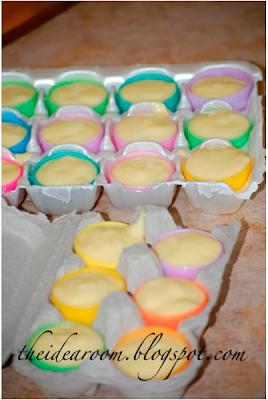
Jello edible eyeballs were made using Lifesavers Gummies and jelly beans by Amy from The Idea Room.

For complete instructions go here.


image from here
This image is from LIFE (Hollywood audition for a black cat). I thought this was such a unique photo reminding me somehow of Halloween. Can you imagine us women dressing up like that now? And cats on leashes..hhmmm- LOL.

Sunday, September 27, 2009

Soft Pink Sophistication!

The roman shades and detailed carpet design give this girls bedroom a sophisticated touch. While the stuffed animals carefully placed around the room add charm, there's nothing little girlish about this bedroom - it's warm and relaxing.

This beautiful room was designed for the Traditional Home Showhouse in Woodstock, Georgia. Images from here.

Check back tomorrow for Halloween Idea Week!

Saturday, September 26, 2009

Post Your Family Rules On Canvas!

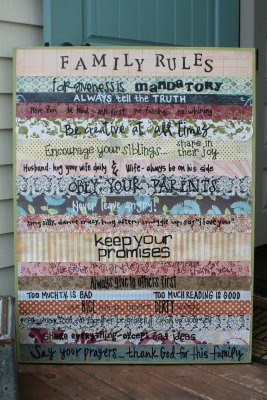
family rules ideasLindsay from The Pleated Poppy featured this beyond cool family rules canvas. A large canvas, scrapbook paper, family rules and a little elbow grease = awesomeness! Lindsay shares some insight, "Write your rules. Be careful of what you put. My kids often refer to the canvas. My favorite is…”Daddy, hug mommy”. A rule is a rule, ya know? I should have put HUSBAND- MASSAGE YOUR WIFE’S BACK DAILY. check out the links above to the blogs. they also have a few suggestions for rules. i think i will steal most of mine, but add in things like, "tummy to the table"."
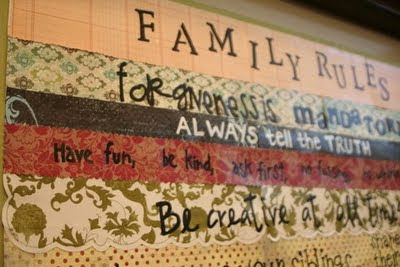
ideas for family rulesDecide as a family what your rules should be. Here's her rules...

ALWAYS TELL THE TRUTH
HAVE FUN, BE KIND, ASK FIRST, NO FUSSING, NO WHINING
BE CREATIVE AT ALL TIMES
ENCOURAGE YOUR SIBLINGS...SHARE IN THEIR JOY
HUSBAND-HUG YOUR WIFE DAILY & WIFE- ALWAYS BE ON HIS SIDE
OBEY YOUR PARENTS
NEVER LEAVE ANGRY
SING SILLY, DANCE CRAZY, HUG OFTEN, SNUGGLE OFTEN, SAY I LOVE YOU
KEEP YOUR PROMISES
USE YOUR MANNERS- YES, PLEASE...NO, THANK YOU
ALWAYS GIVE TO OTHERS FIRST
TOO MUCH TV IS BAD...TOO MUCH READING IS GOOD
USE NICE WORDS...IGNORE DIRTY WORDS
BLESS YOUR FOOD, BE GRATEFUL, EAT TOGETHER, CLEAN UP AFTER YOURSELF
SHARE EVERYTHING EXCEPT BAD IDEAS
SAY YOUR PRAYERS...THANK GOD FOR THIS FAMILY

Go to The Pleated Poppy for complete how-to instructions.

Friday, September 25, 2009

Cool Tutorials With Fabric

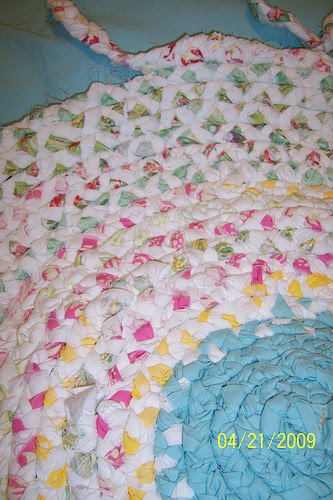
Vanessa from V and Co is one talented gal! She has several very cool tutorials posted on her blog and her rag rug how-to was featured here on Moda Bake Shop.


image from here.


Vanessa made this with sheets and red/white gingham fabric - it's my favorite:)

Here's another cute project...


Look how cute her fabric flower add-on is! So many possibilities with these fun flowers...a flower hair clip, add to a shirt or pillow, etc. The tutorial is here.

Thursday, September 24, 2009

Chocolate Walls - Boy's Room!

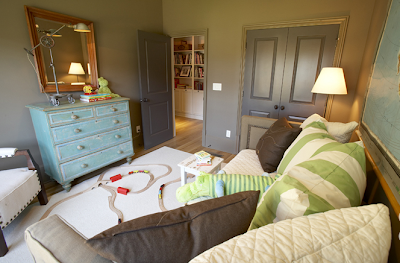
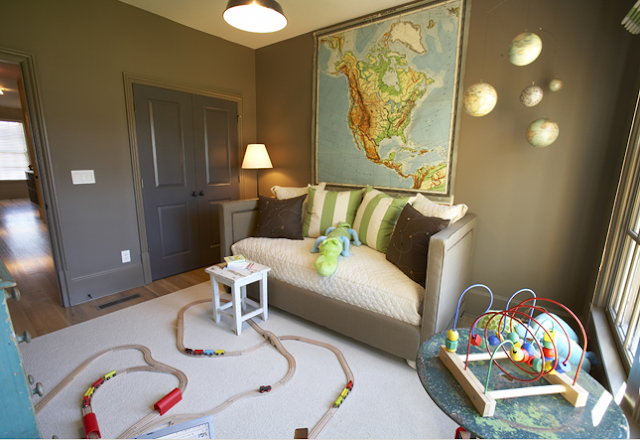
sophisticated boys roomSuch a sophisticated boys room! For a small bedroom like this, the daybed is perfect for allowing more space to play. The framed map is beautiful and inspires curiosity. Clever idea: world globes suspended from the ceiling.

The color choices for this room are warm and comfortable. This room was designed for the Traditional Home 2007 Showhouse. Images from here.
Wednesday, September 23, 2009

How To Make A Cupcake Stand

how to make a cupcake standA cupcake stand is a perfect way to display your cupcakes. I've included instructions on how to make a quick and easy cupcake stand.

Supplies:

10" and 13" cake boards or (thin wood cutout)
1/2 yard fabric for bottom cupcake layer
1/3 yard fabric for top cupcake layer
2 1/4 yards ribbon
fabric glue
couple (pvc pipe) purchased at Home Depot $2

optional:
spray paint
elastic
how to make a cupcake standStep 1: Cut fabric a little larger than the board and attach to the board with glue or spray adhesive. I happened to sew elastic around the fabric edges and "slip covered" the board. I couldn't find a cardboard cake board without scalloped edges (which won't work with the ribbon trim), so I jigsawed 2 circles out of very thin pressed wood. How many "layers" to the cupcake stand will depend on how many of these boards you will make and decorate. I made 2 boards - 10" and 13". You could also use wrapping paper instead of fabric to cover the boards.
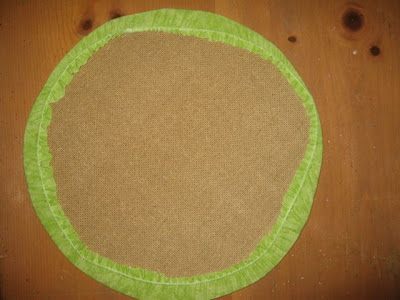
diy cupcake standStep 2: Place board on a cake stand (cake pedestal) and attach ribbon to the edges of the cake board with fabric glue.

how to make a cupcake standStep 3: I spray painted a piece of PVC pipe fitting a bright pink. This PVC fitting is called a couple and needed no cutting - it is for the center to hold up the next cake board. Instead of spray paint, you could wrap the pipe with ribbon and use glue to adhere the ribbon to the pipe.

Step 4: Assemble pieces on top of one another - make sure to center it. I did not glue the middle coupling piece to the board. If you would like more support, you might want to glue this coupling to the board. I made my cupcake stand so you can easily store it and also redecorate it for the next event.


This size cupcake stand holds 14-20 regular size cupcakes. If you need a cupcake stand to hold more cupcakes, start with a large layer base and add 3 layers. Can you tell this was made for a Luau party?

An inexpensive way to add cupcake toppers is to use hanging string decorations. This was purchased at the dollar store and each hibiscus flower was cut from the string. I ended up with 42 cupcake toppers for $1.

Hope you like the cupcake stand tutorial.