Monday, October 31, 2011

Happy Halloween!


Come and browse our site for great magazine deals.


My sweet little kiddos many years ago on Halloween. I came across these images recently and decided to share what Halloween looked like 14 years ago in our home. (Daniel Boone, Cinderella & a Fairy)


A couple of years later...Dorothy & Little Bo Peep  (sisters and best friends)! 
Little Bo Peep won "Best Halloween" costume and went around asking "Tweek or Tweet have you found my sheep?"


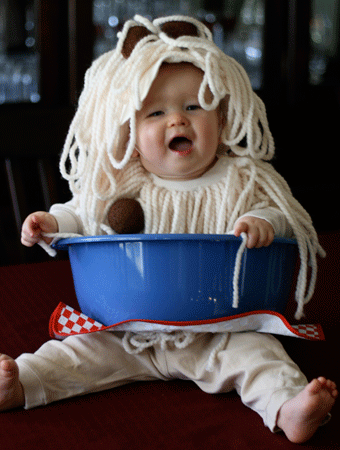
Costume ideas for next year...

 Darling 1920's flapper. Image from here.


image unknown

So stinkin' cute!


UPS Guy


Image unknown


I think this stewardess costume would be so cute on a little girl!
UNIFORM:


·         Blue Suit with a Jacket and Skirt  – The “Pan Am Blue” is close to a Royal Blue. Suits can be found at your local thrift store. If you’re handy, you can tailor your jacket to make it fit your ladylike figure and shorten the sleeves.  Similarly, the skirt length is acceptable just to your knee.


·          White Collared Shirt -   Spread the collar over the lapel of the suit jacket.


·         White Gloves -  Gloves should reach the middle of your arm. Opera length gloves are too long.  In a pinch, use shorter gloves, not longer ones.


·         Nylon Hosiery -  In the ‘60s, hosiery was not as sheer as today.  Emphasize that you’re wearing hosiery by wearing a less-sheer style.


·         Short-Heeled Black Pumps - The stewardesses of Pan Am were on their feet all day, so find a sensible, lower heel.


·         Pan Am Wings Lapel Pin - A pattern is available for you to download at http://cdn.media.abc.go.com/m/pdf/shows/pan-am/PA_Hat_.pdf.  Simply print it out, cut it carefully and attach it to a piece of heavy paper or thin cardboard (like that of a milk carton).  Then, affix a safety pin to this and wear your wing on the left side of your jacket (over your heart).


·         Pan Am Stewardess Cap -  A pattern to create your own paper cap is available for download at  http://cdn.media.abc.go.com/m/pdf/shows/pan-am/PA_Hat_.pdf  There’s a pattern for the Pan Am cap pin provided as well.


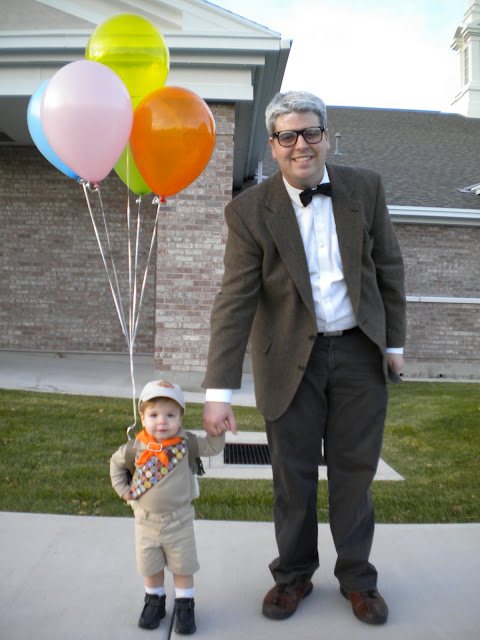
Absolutely adorable UP (the movie) costumes.  Created by More Than Words Can Describe.


Happy Halloween! Have a spooky (not too spooky) fun night!


Saturday, October 29, 2011

Halloween Party Play Date


Halloween Party Play Date
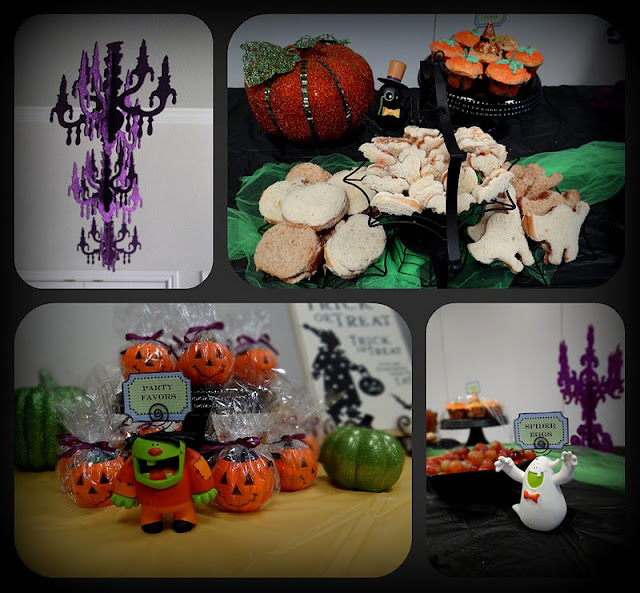
While the big ghouls and goblins were at school their little monster siblings parted down in style. Crystal & Mindy from Creative Juice styled a toddler friendly Halloween Party Play date that was nutritious and delicious.


                                                              Cover of: Julius's candy corn by Kevin Henkes

To scare up some fun they made Halloween ghost pops, pumpkin magnets and yummy pumpkin cup cakes. The kids had a blast with the cup cakes...the moms not so much.


The cupcakes were a must to go along with our story time book, "Julius's candy corn." Which is an adorable book about a mouse getting ready for his Halloween party. While he waits for his friends to come he eats all the cupcake toppings. So FUN!


Happy Halloween!
 PB&J sandwiches were cut out in fun Halloween shapes along with"spider eggs" (grapes) ,"monster hearts" (strawberries) and adorable little party favors for the little monsters.

           ================================================= 

I loved play dates when my kids were younger. Actually, I still love play dates with me and my friends ; )  

A big thank you to Crystal & Mindy for sharing such a a fun idea. Check out their I've been booed in Style post and more.


Thursday, October 27, 2011

My Favorites & Link Up Party

Mad Scientist Party by Amy Mattes Designs
 Isn't this Mad Scientist party a scream??  Love the awesomeness.


Loved all your link ups. You all inspire me with your creativity.  Here's my favorites...


A fun, colorful crayon teacher wreath designed by How To Nest For Less.


What child wouldn't be curious about dinner in a bag? Such a fun idea to serve dinner a different way - made by Style Baggage.


Crearescout made some adorable bees for the garden. I could so see these on a table display for a bee themed party.


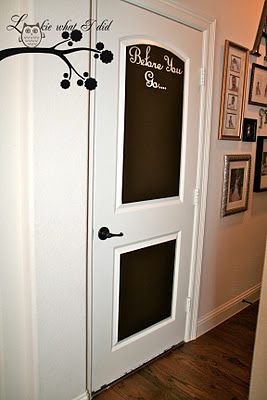
Lookie What I Did organized the door near the entry way to be a clever/organized spot. Go check it out.

A Couple of Craft Addicts sewed this too sweet of a girls dress. Check out the link to see the back.


Holy-Craft made 12 onesies for each month of the first year.


 Donna from Party Wishes! decorated her front porch with a Halloween Raven theme. This is an annual tradition to decorate her porch for the holidays.


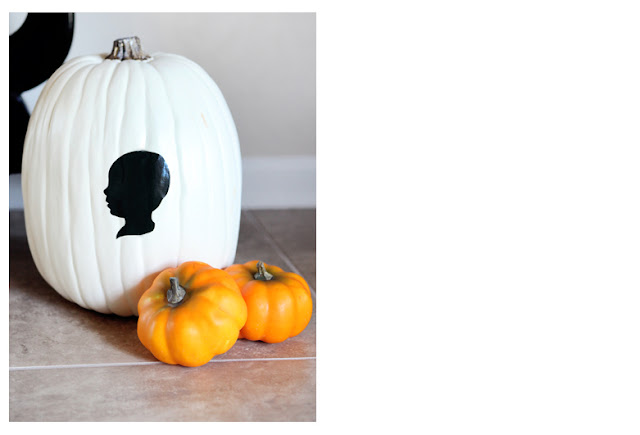
Pink Coffee created this simple pumpkin silhouette. Silhouette instructions included.


No linking to selling sites or giveaways. ETSY sites can link up to our Halloween party with Halloween items only.Have fun and leave some love (comments) and visit some amazing bloggers.

All link ups should be related to design and decorating with kids (babies, kids or teens)!

Please link back to Design Dazzle so others can share in the awesomeness!

Each week I will choose several of "My Favorites" from the link up party. "My Favorites" will be featured on the following weeks link up party. Your post needs to be linked to Design Dazzle to be considered for the "My Favorites" post.

By entering our link up party, you are giving Design Dazzle permission to use any part of your post including pictures.


Wednesday, October 26, 2011

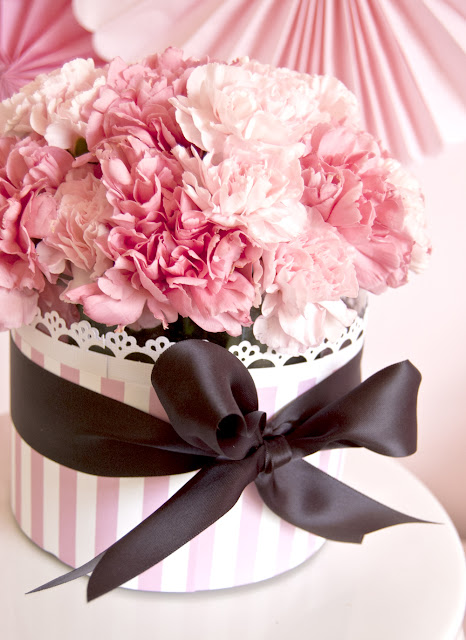
Baby Shower or Party Idea: Wrapped Vase Centerpiece

Thank you to Toni for asking me to guest post on Design Dazzle. I throw quite a few parties over at Frog Prince Paperie (www.frogprincepaperie.com) and I’m always excited to be able to share some of the things I’ve learned.


When I’m designing dessert tables or tablescapes, I have a prop closet full of basic vases and such that I use. The vases don’t always fit exactly what I’m doing, so I have to make them match with a little creative engineering and one of my favorite ways to do this is to make wrapped vases. 


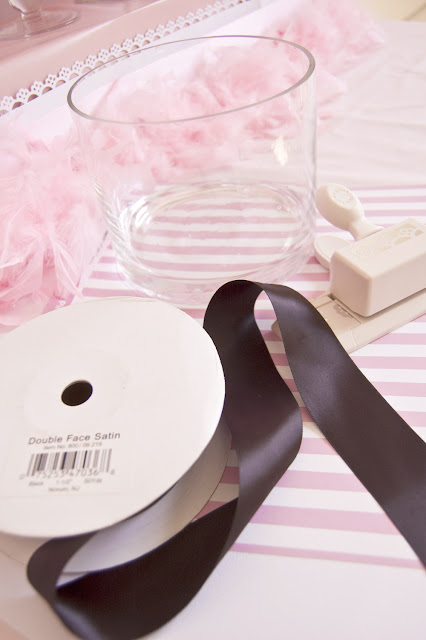
Materials:


-    Vase

-    Cardstock

-    Patterned paper

-    Ribbon

-    Edge puncher


Vases come in all shapes and sizes, so I’m going to give the method I used for this particular project—you can adjust for the vase you choose!


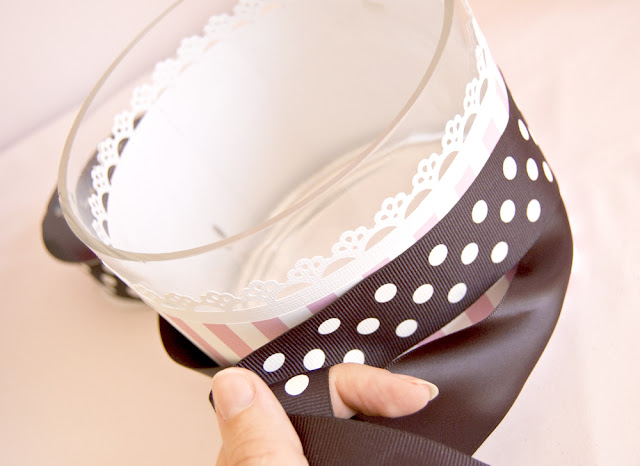
 Cut the cardstock 1 inch shorter than the height of your vase. Make sure your paper is long enough to wrap all the way around your vase; if you have to, tape 2 pieces of paper together to get the right length. I recommend cardstock for the first layer, as it tends to stand up to the edge puncher a bit better.


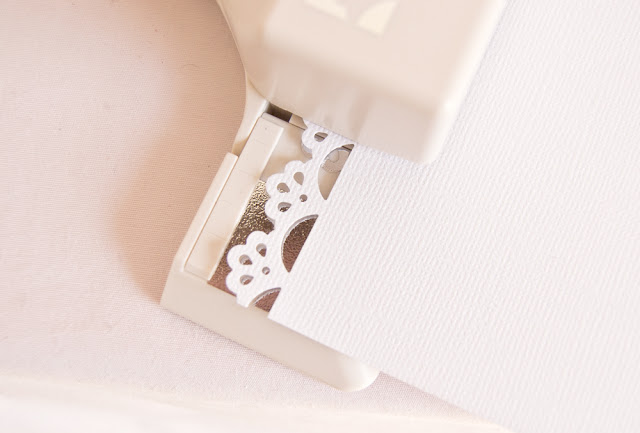
  Punch the edge of the paper using a scrapbook edge punch. I love the
Martha Stewart line, but there are all kinds of beautiful punches available at
the craft store!


Cut the patterned paper 2 inches shorter than the height of
your vase, or short enough that your punch can peek over the top.


Wrap your vase first with the punched paper and tape in place, then with
the patterned paper.  


Tie a length of ribbon around the papers to finish! I used a
1.5 inch double faced satin for my finished product, but a grosgrain or polka
dot or something else fun would have worked great as well!
When I filled this vase with flowers, I picked up
inexpensive carnations from the grocery store that coordinated with my pink
paper and a piece of floral foam to get them to stay in place.
This concept can be used in any number of paper/ribbon
combinations. I also like to punch the bottom edge of my papers when I have
taller vases for a really lacy and feminine look.
Hope this adds one more creative piece to your repertoire!
Paula Biggs
Frog Prince Paperie
www.twitter.com/frogprincepaper


         =====================================
Thank you Paula for sharing such a fantastic idea! I love the fact that you can make a stunning vase out of inexpensive items! This is so perfect for a baby shower, party or special event.


Tuesday, October 25, 2011

Yellow Kitchens 2012

The yellow infuses optimism, enlightenment and happiness. It brings a sense of something positive, something promising. What better place to be enlightened and encouraged as the heart of your home? Yes, we are talking about the yellow kitchen this time! Explore carefully selected set of beautiful yellow kitchen designs below:

(BTW, if you have something more amazing yellow kitchen that you think are worthy of inclusion in this list, please mention them in the comments. So we have a constant stream of messages as cool on the Home Design and if you want to be notified when we have more of these inspirational messages, please subscribe to our feed or newsletter!)